
First of all, I like to thank everyone who entered my very first giveaway and huge thanks to Supply.com! A $100 credit to NBS is a great prize! Using Random.org, I picked a winner and the winner is....
Congratulations Nicole! My first giveaway went so well, I'll be running a different one in a few weeks, so stay tuned!
_________________________________________________________________________________
Now, for some DIY. If you looked closely, you may have noticed in the last photo of my New Light Fixtures post had something a little different. I took the photo after I had installed the new lights and moved on to the next stage of my bathroom upgrade.
I added trim and rosettes to my builder-grade mirror to spice things up.

This is nothing new. It's a pretty easy upgrade. I've done the same thing to our guest bath, and I've seen several other bloggers give their mirrors similar treatment. I thought I'd a couple cool tips I've figured out from doing it.
First of all, I STRONGLY recommend using Liquid Nails Power Grab adhesive to attach the mirror to the wall and the moulding to the mirror.

When I added trim to my guest bath mirror I used Mirror Adhesive, and although it worked well for the mirror, I had a huge pain adding the moulding and rosettes. When dry, Mirror Adhesive is extremely strong, but it doesn't dry super quickly and can cause you trim to slide down the mirror while drying. The PowerGrab has a very strong initial tack (meaning stuff sticks to it immediately) and dries quickly.
I simply taped my pieces in place to dry and had no problems.

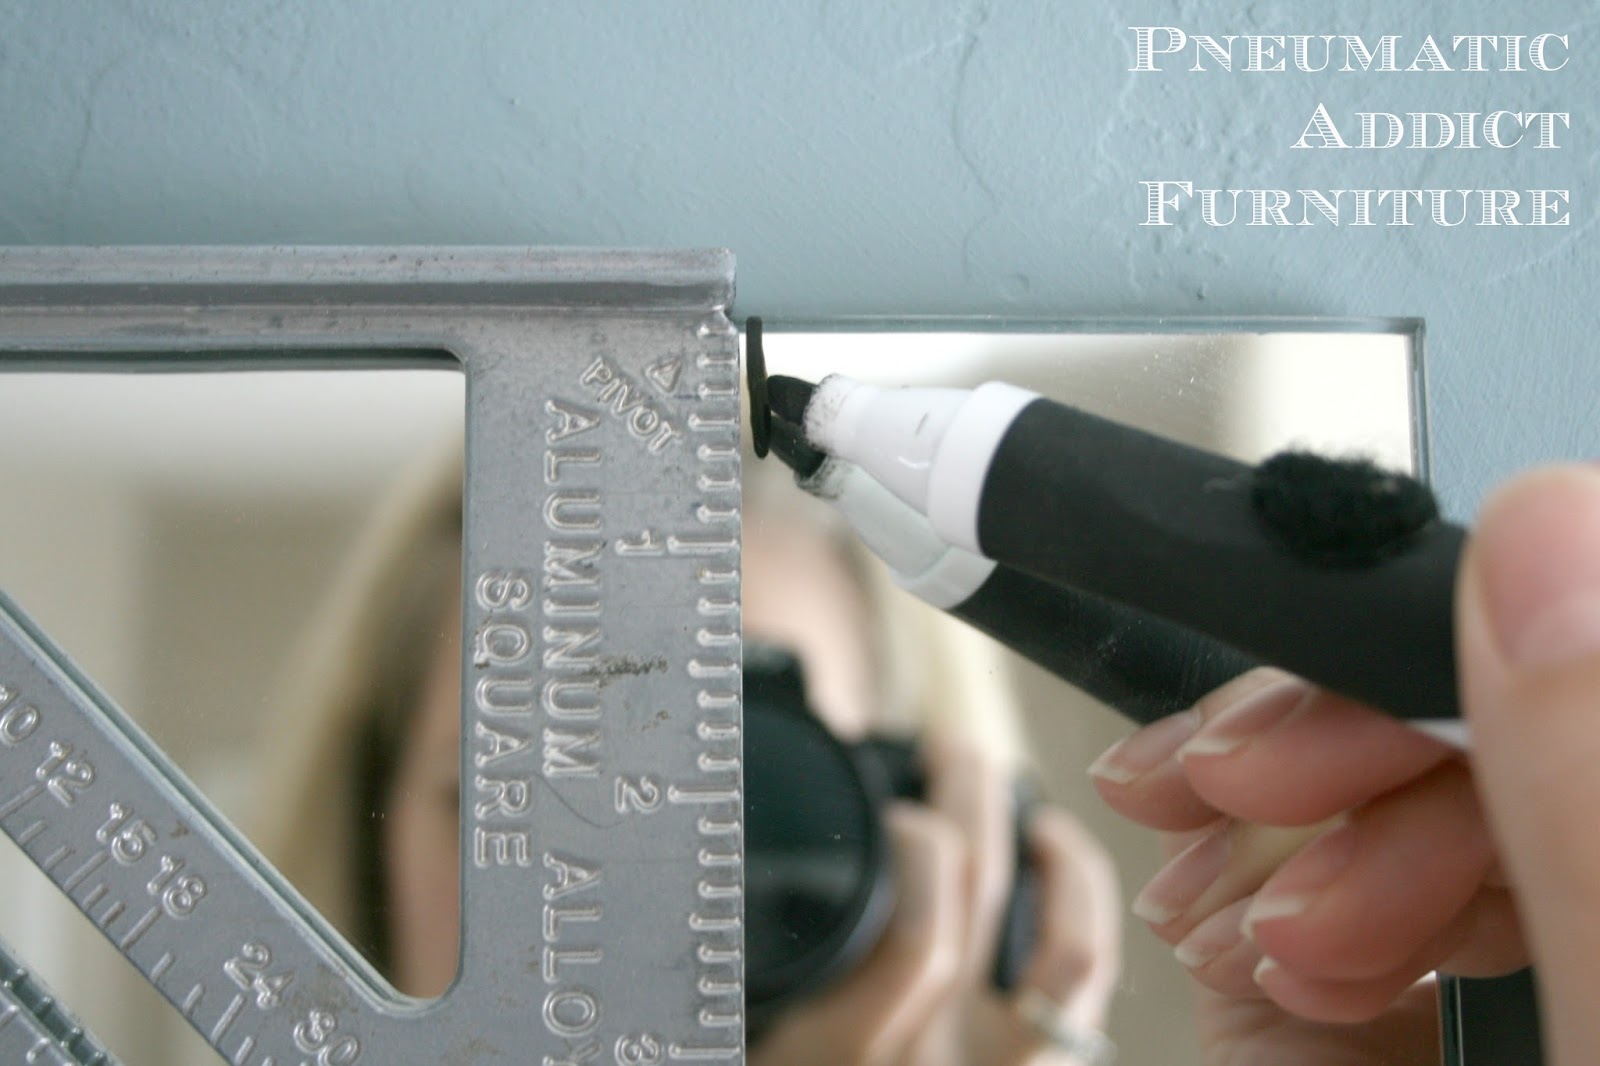
My second tip is to use a dry erase marker. Use your handy-dandy speed square (see Talkin' Tools #3), or a framing square to mark perfectly level, square lines for your moulding to line up with.


Because I was using rosettes, I decided to attach all 4 rosette blocks first, then measure and cut my trim to fit. It was easy to get them exactly square. I just stayed inside the lines. Once in place, I secured the rosette with a little painter's tape.

Using the same technique, I filled in the spaces between rosettes with traditional, fluted moulding. Here's the semi-final look. I still need to paint : )
What do you think? Do you have trim around your wall mirrors?
Linking at:


I love this plan! I haven't decided what to use for mirrors in our bathroom yet. But a trimmed-out mirror is def on the list. I think I missed the giveaway! I remember the post, but I don't think I actually entered! {headsmack}
ReplyDeleteI'm such a dork. :/
-andi
I love the looks of your updated mirror. I have a mirror in my guest bathroom just like yours, this would be a awesome addition to my bathroom. Thanks for the inspiration. ;o)
ReplyDeleteI have to do this in my bathrooms, and have been wanting to for forever! I just can't seem to get it done! I love it with the rosettes, we have the same trim in my main living area of our home! It really looks so pretty!
ReplyDeleteLooks great! Have I mentioned how much I ♥ your site?! Shared via G+ and tweeted. Thank you for linking up to ITS PARTY TIME. ;)
ReplyDeleteI have a very similar set up in my master bathroom and we REALLY want to put some trim on our mirror. The trim you chose really gives it an updated look & I love it! Thanks for the great tips.
ReplyDeleteI'm stopping by from Craft Frenzy Friday (110 $6 Easy Fall Decor)
Thanks for the advice, really helpful and it looks really impressive
ReplyDeleteI love, love, love this... We too have these huge mirrors, and simply by adding the trim you have transformed your bathroom. I have been wanting to do this since I saw something when I was addicted to the Carol Duval show (many moons ago)... You really need to come to my house and help me finally do it!
ReplyDeleteWanted you to know I loved this DIY so much I shared it as one of my Top Three on the blog today! http://homecomingmn.blogspot.com/2013/09/the-diyers-30.html
ReplyDeleteCongratulations…this post was featured on Create It Thursday #21! Thanks so much for sharing such a fabulous idea last week!
ReplyDelete