
*This post is sponsored by DAP Products and contains affiliate links.
I've been obsessed with acoustic, vertical wood slat walls for a while now. Not only do they add a sleek but warm texture to a space, paneling like this was originally designed to break up noise from bouncing around a room and function as acoustic paneling. Our new house is super echo-y so I knew I was going to incorporate some accent walls.

1. The easiest option would be to use standard pine 1x2s, but I wanted my slats to be made out of hardwood - specifically the same poplar that we used for our floating stairs and kitchen shelves.
2. You can buy pre-made wood slat panels (like these ones) but they are pretty expensive, and typically only come up to 8' heights.

These wall treatments have gotten super popular lately and there are several tutorials out there, but I hadn't seen one yet that had the exact look I was going for. I wanted deeper paneling (around 2") so I wouldn't be able to use off-the-shelf 1x2s. Also, I knew I wanted to see the wall through the slats, so that ruled out mounting thinner boards onto a substrate like felt or plywood.

I came up with a MUCH CHEAPER way to DIY my vertical wall slats, and figured out how to mount them to standard drywall, without a backer. Check out the video below for the full process, or keep scrolling for my tips.
I've noticed most people don't realize how much wood (or money) an accent wall like these take. For example, one of the slat walls I installed used 30 individual slats. Even if my walls were only 8' tall and I used pine, Select Pine 1x2s currently cost around $7.50 at Home Depot. That's over $225 for just the wood alone. Swap those slats out for hardwood like oak or maple, you're easily looking at $600-700.
By far, the cheapest was to purchase lots of hardwood is to buy rough sawn boards. To have enough material for two slat walls, I bought around 108 BF of 8/4 (woodworker way of saying 2" thick) poplar for less than $500.

Rough sawn boards are sold by the boardfoot.


Most lumber yards will mill boards for you for an extra cost, but it also helps to have access to a few specialty tools of your own. A thickness planer is essential and an edge jointer is super helpful (but not required).

A track saw, or even a circular saw with an edge cutting guide can clean up the sides of boards not as well as an edge jointer, but close enough for an application like this.
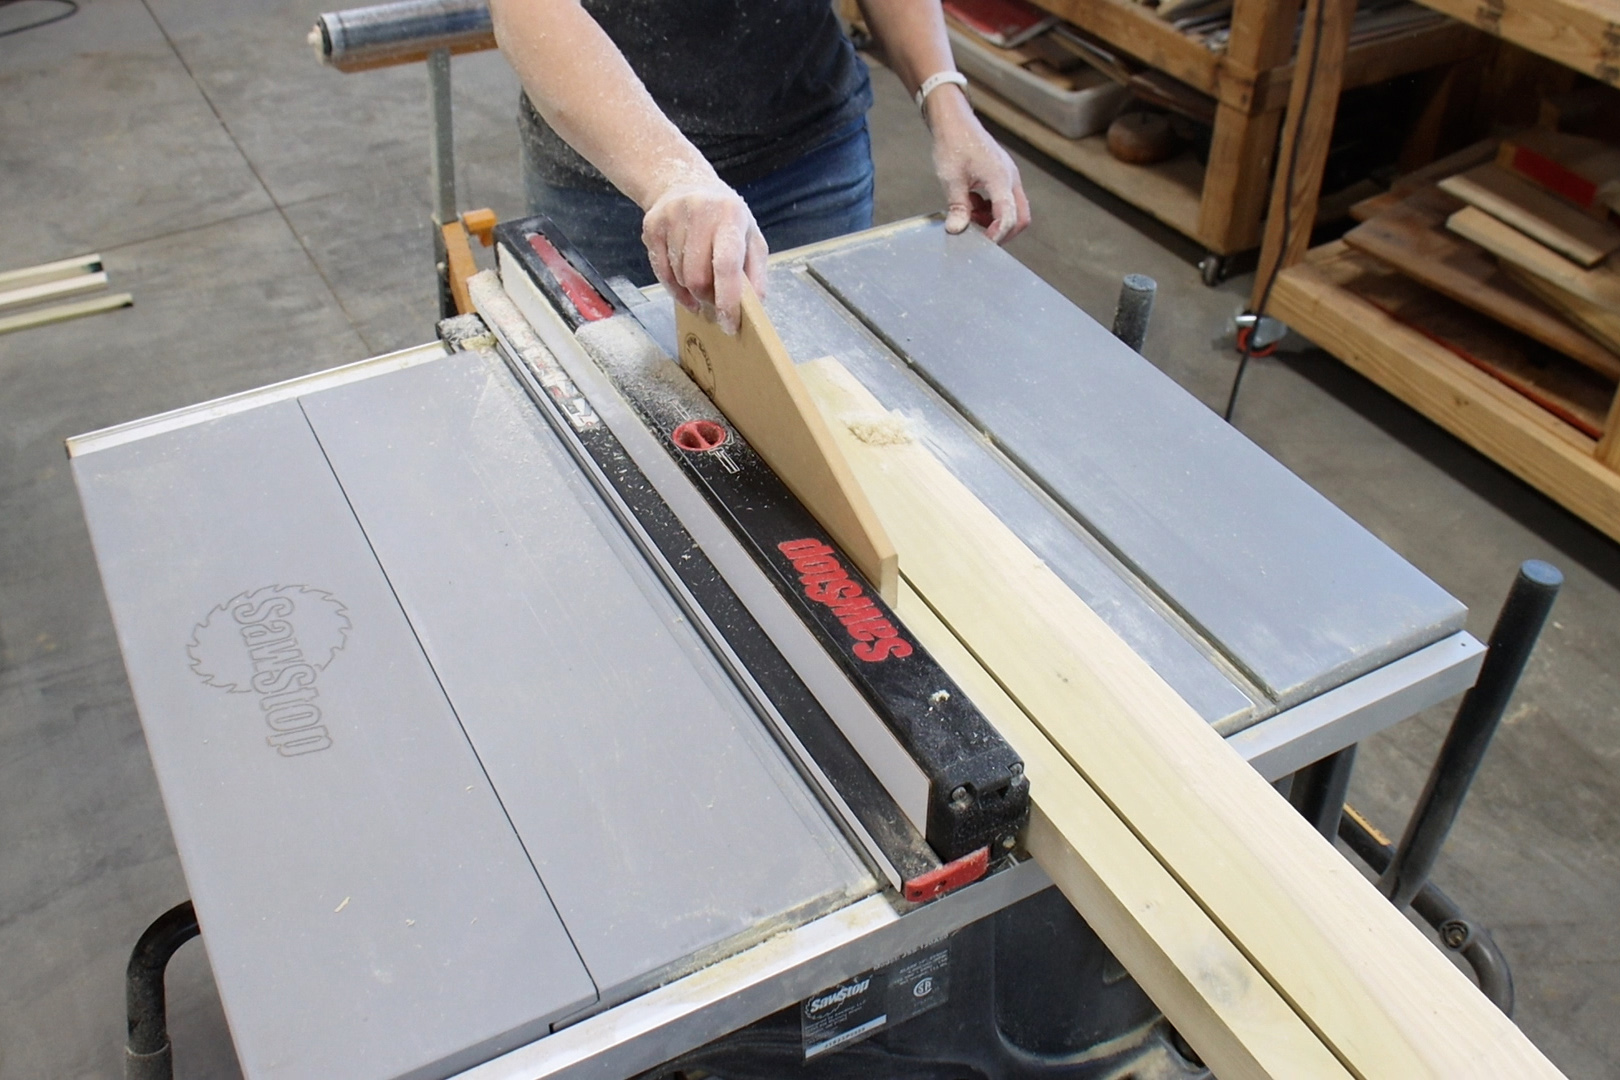
I needed around 80 individual slats for the two walls I was going to cover. While making that many repeated cuts is possible with a circular saw, I don't recommend it. If you want your wood slats to be perfectly straight and identical, you've got to use a table saw.
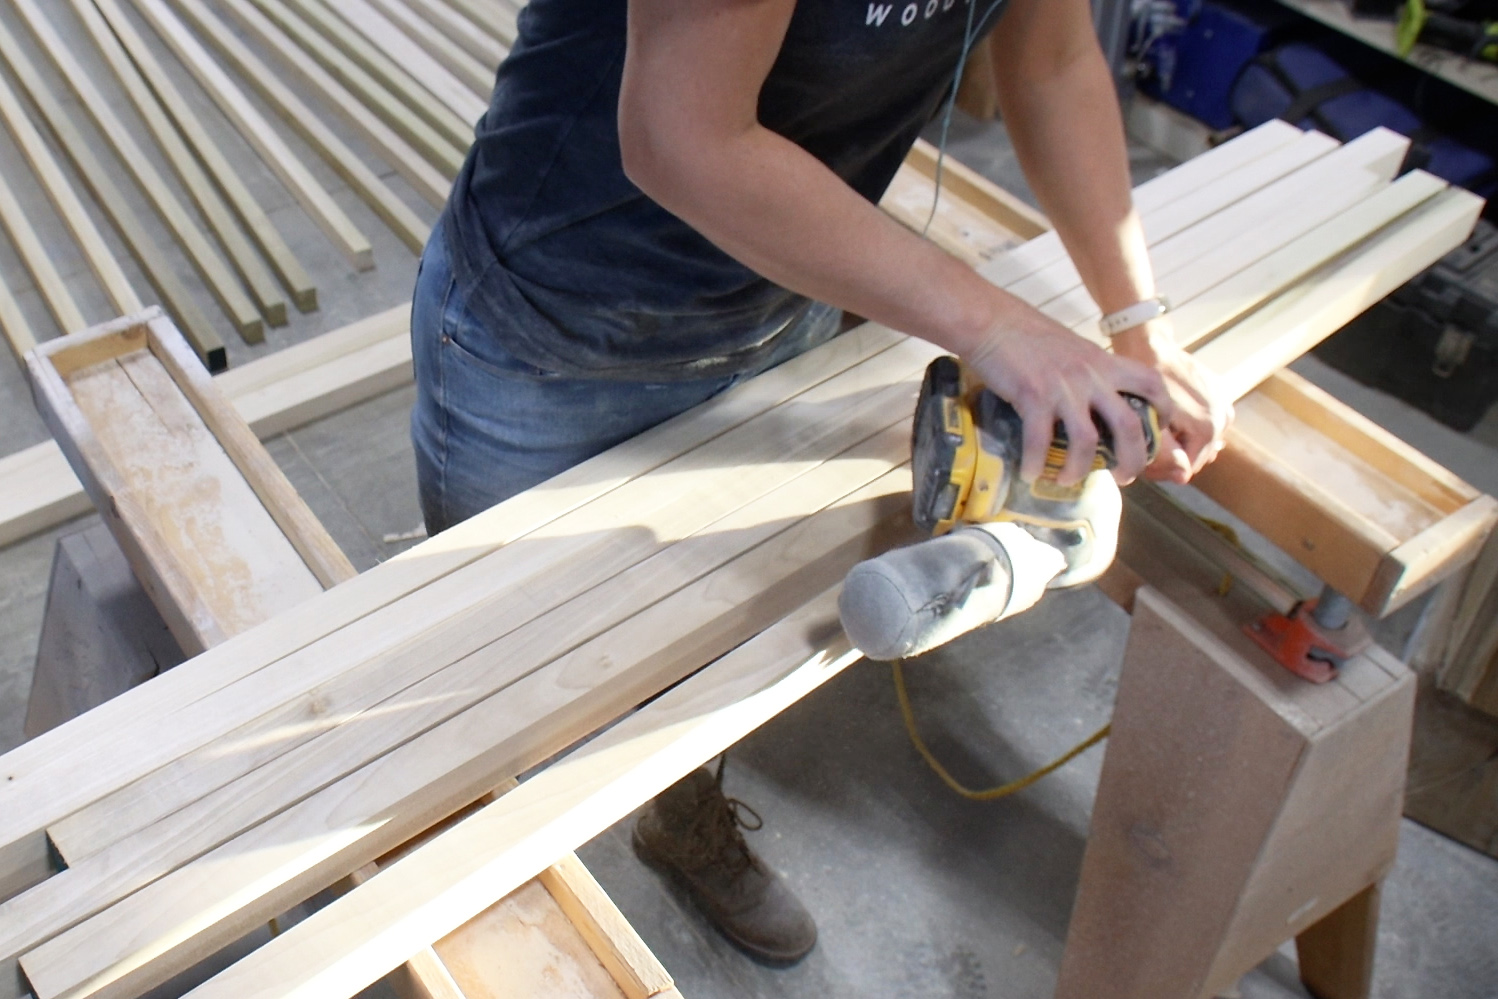
Hands down, the worst thing about cutting your own slats is ALL. THE. SANDING.
Not gonna lie, I spent the better part of 2 days just sanding all those faces and edges.
A perk of using raw materials, as apposed to purchasing pre-finished panels is the fact that you get to finish it however you'd like. You might not think having to apply finish to dozens of boards is a perk, but it allows you infinite options.

In my case, I was able to perfectly match the same satin lacquer that I have throughout the house.

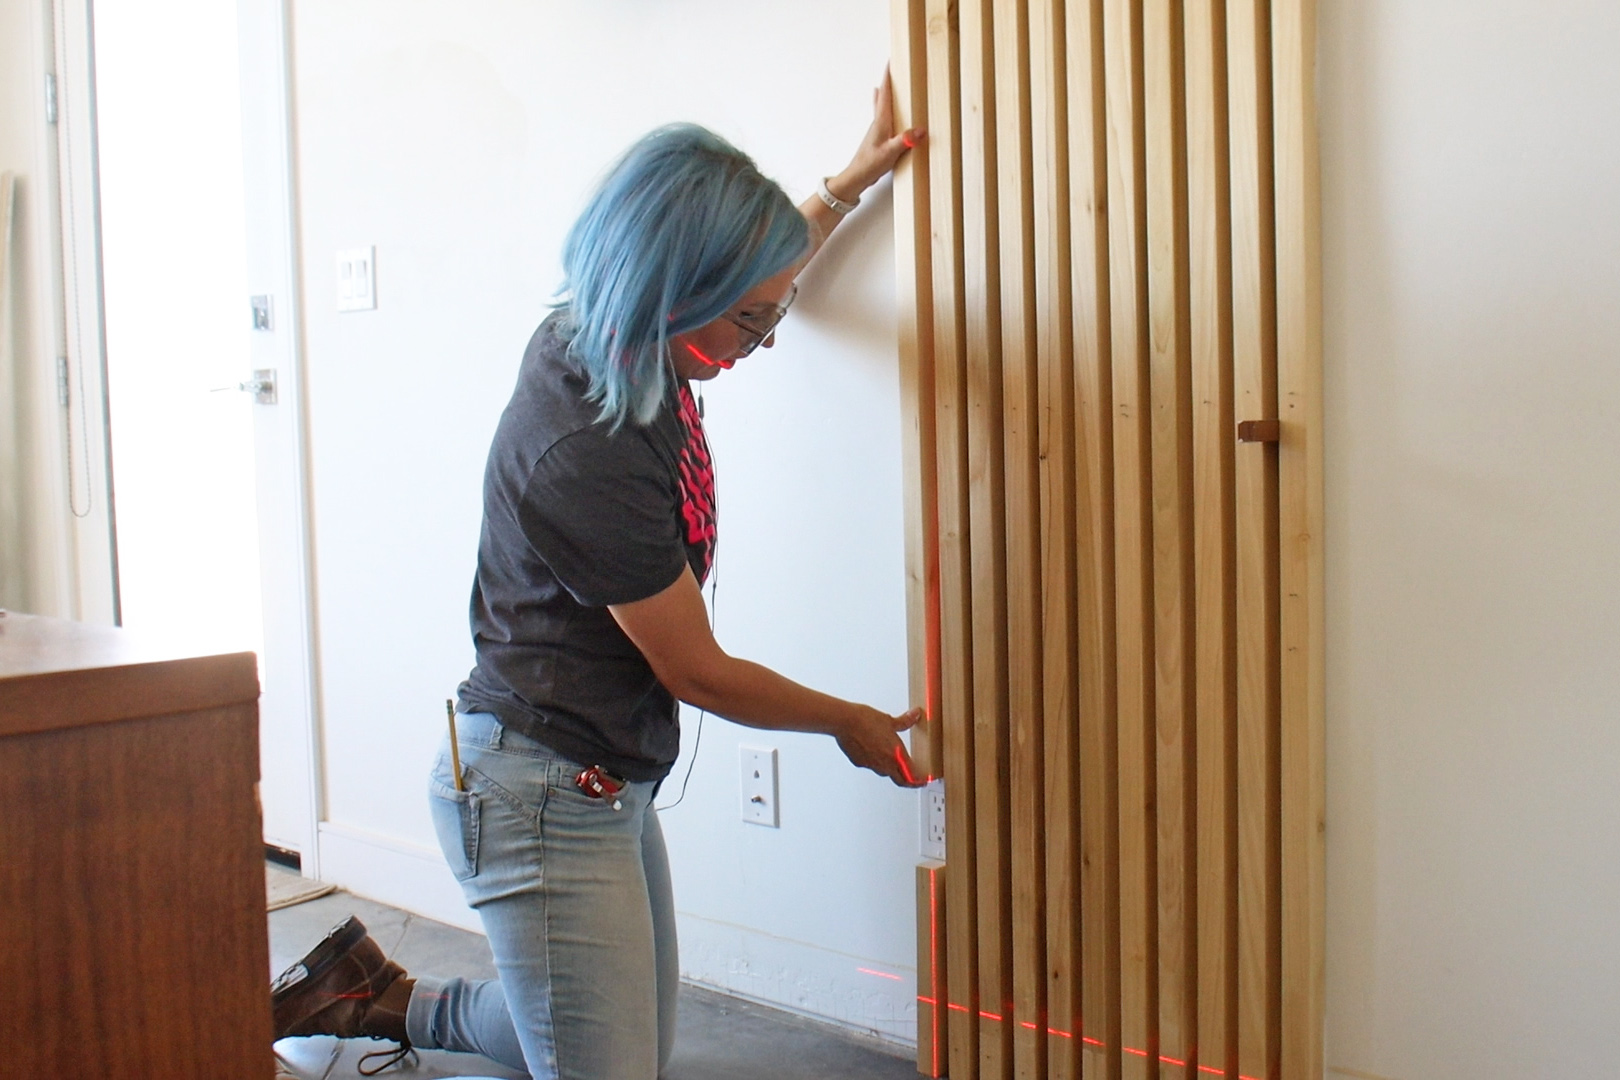
To attach the wood slats to the wall, I applied a healthy bead of construction adhesive to the back of each board and then pressed it into place.

Depending on the size and weight of each slat, construction adhesive will do the majority of the holding power, but to help secure the load, I drove 2-1/2", 16-gauge finish nails into the top and bottom plate of the wall framing.
My love for poplar wood is no secret. I've talked about it openly in several of my YouTube videos, and used it to build several projects, like my Tapered-X table lamps and Round Mirror Wall Cabinet.
Although it gets a bad rap, I adore the rainbow of greens, browns and gray tones that you'll often get in poplar. This is why I love Premium Wood Filler by DAP.

Premium Wood Filler is cool stuff! Not only does it resist shrinking or cracking, it cleans up with water and can be tinted to match your project perfectly.

Instead of using a single pigmented wood filler to fill patch the nail holes, I used a variety of stains and paints to color several small batches of Premium Wood Filler. It made it easy to mix and blend different shades to match the exact spot of each hole.

Once the slats are installed, caulking the outside edges give it the finishing touch.

Whenever I caulk seams between trim and drywall, I always reach for DAP Alex Plus. It's my favorite!

DAP Alex Plus is an all-purpose acrylic latex caulk that is is highly flexible, durable, and sticks well to most materials.

Ready to see how they turned out??


I spent about 3 days prepping my materials and 2 days of installation. Admittedly, longer than I'm sure it would have taken if I purchased pre-finished acoustic panels, but for a fraction of the price.
What do you think?!
If you like that, you'll love these ideas:


Let's be friends! Follow along so you don't miss a thing!


No comments